
By THORSTEN OVERGAARD
Thorsten Overgaard is widely known as the Leica historian and for his website that offers free advice on photography. In this article exclusively written for THEME, Thorsten takes on automatic photography and how to take back control of your own photography.
If you feel there is so much you need to still learn to master the technology of photography, here’s my few words for you. Hopefully you stand taller and make better photos after this.
“My camera is really good. 70% of the times. The photos are perfect. But how do I get the last 30% perfect, too?”
I’ve heard this many times in my workshops around the world when someone comes with a DSLR. Often they got into photography again a few years back, after having been enthusiastic about it in their youth. Now it’s time to get back into it, and they have the money to get the best. Now they have elevated to a Canon 5D semi-professional system, a Nikon D810 or similar. They want to be serious about photography again, but there are things they don’t understand.
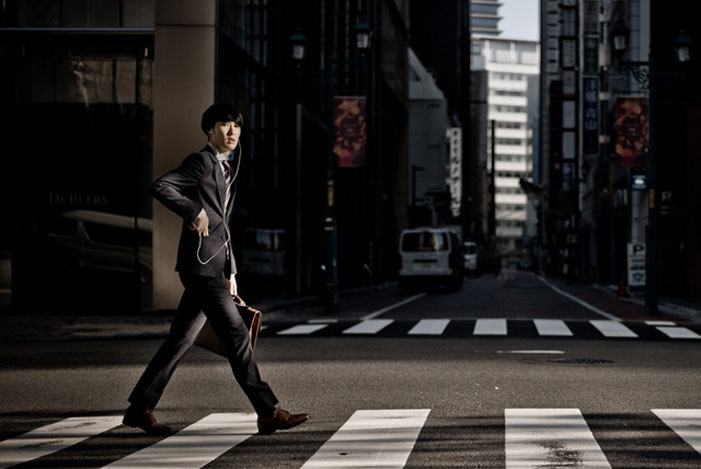
I take it as a testament that this is how far photography has come with intelligent and automatic systems. 70% is right, 30% is unknown.
Unfortunately, the 30% of the photos that don’t work out on one of today’s automatic cameras will be the exciting and creative ones. The ones where the light is glowing behind your daughter’s face and the out-of-focus highlights are sparkling.

At least, that’s what you envisioned. But what the camera made was a silhouette, and if it is a really automatic camera, it also changed the aperture to F16, so not only is the face too dark, the background is also sharp and the sparkling out-of-focus dreamy highlights are gone!
It’s a “correct” way to make a photograph. The light meter did exactly what it was supposed to. It just wasn’t what you wanted to make.
I’m sorry to tell you. But there is only one way to get it right, and that is that you take over the control of the camera and the light. Use the built-in light meter as a supporting tool to measure the light. But let you be the one who decides where to measure and what to do with it.
That sounds right, but how do you do it?
The remedy the camera industry came up with to help you to correct the light, was the thumbs wheel. It’s been on cameras for so long that some people never experienced how it worked before.
Even on professional cameras you will find the thumbs wheel. It’s the one you use to adjust the exposure if you want it different than what the camera’s system came up with.
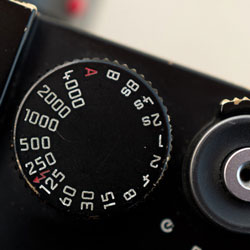
It works, but…
The reason there wasn’t thumb wheels on cameras in the 1970s was that you didn’t need them. Back then people knew more about how to use a camera.
It wasn’t that people in the 1970s were more intelligent than people today. The reason was that the few necessary controls to adjust the exposure were all sitting on the outside of the camera. It was easy!
Fast-forward: With digital cameras we’ve got a screen on the camera and suddenly the number of functions became unlimited. The camera manufacturers didn’t have to make a button for each function (which until then had put a natural limit to how many functions you could add to a camera).
Now you could add hundreds of functions to the screen menu of the camera. And they did!
Instead of using their idle time figuring out how to make the camera simpler and better, they started making lists of things that they could also add to the camera menu. If you invent something and give it a cool name, then your camera offers something no camera ever offered before.
Fast-forward again: At some point we reached a limit for how many functions anybody can figure out, much less even remember where they last saw them in the menu. And as most functions have glittery names that make no sense, nothing made sense anymore.
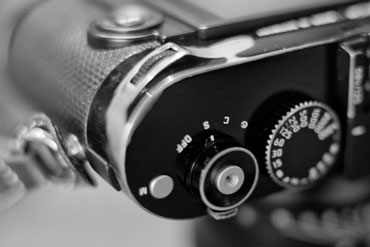
With the wheel you could suddenly bypass all the settings you don’t know and certainly can’t remember what you set them to.
With the wheel you could simply turn the wheel to the left or right, and there you are: now it looks right!
However, lost in all this add-on on top of add-ons is the basic understanding of what photography simply is: writing with light, using three basic controls: sensor sensitivity, aperture and shutter speed.
It’s no secret that I like Leica cameras. I like them so much that some think I am sponsored or paid by Leica to tell the world.
I’m not. I am independent and try to stay that way. I only use and write about things I use. I never take on new camera models and test them for the sake of reviewing.
I buy my own cameras, and obviously I only buy what I want to use and think is useful. When I get a new camera or lens, I either use it and write about how I do it, or I get rid of it again and either write about why I didn’t like it, or don’t mention it at all.
The reason I like Leica is because if their simplicity and quality. I also happened to dream about them since I was a teenager using cheap point-and-shoot cameras and my own homemade wooden 6×6 medium format camera.
The more I photograph, the more I appreciate the simplicity of the Leica.

My equipment that I travel with these days is mainly:
Two Leica M240 bodies and one Leica M-D 262 (the one without screen) and a 50mm Noctilux-M ASPH F0.95 as my main lens, and then a 21mm or 28mm wide and a 75mm or 90mm tele lens.
I still have Leica M and Leica R film cameras in a closet at home, but the above is what I use to deliver my photographs these days.
The Leica embraces the core of photography. The designer of the Leica M cameras, Oskar Barnack (1879 – 1936) originally envisioned the idea of “small negative, large prints” and invented the small Leica M camera you could easily carry, as well as an enlarger that could enlarge the photographs.
The first lens on the Leica M was made by Max Berek (1886 – 1949) and he had a philosophy about perfection and simplicity that has been the philosophy of Leica ever since.
I spoke with Leica’s current lens designer Peter Karbe some time ago about the lens design. Despite it is 100 years ago since Max Berek made the foundation for the Leica philosophy of simplicity, it is still how today’s designers think at Leica.
Karbe:
Each lens element is chosen to deliver the performance by itself. In some other designs you will find strong lens elements, and when you combine them you will get a sharp lens. But each element will contribute strong aberrations. So traditionally other lens designers will try to reduce aberrations with other elements.
At Leica we aim to reduce and minimize it within each element itself, with each surface and so forth. That is the concept and thinking behind everything we do.
Minimize.
Look at the M system. We aim to keep it compact and each element has a certain task and this need to be selected carefully.
As you can see, this is a very different philosophy than adding every new feature you can come up with, to the camera menu.
Somehow adding on is human nature. Look at the iPhone or any other relative simple device and how the expand the menus, the gestures, the features over relatively short time.
In photography, when you realize that you are writing with light to create photographs and you look for the best tool to do that, for me the answer is simply Leica. Or any other brand that would keep it simple.
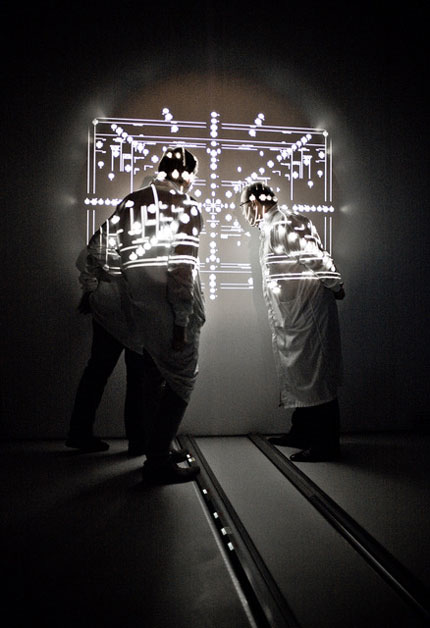
The irony of it is that Leica actually added the wheel to their Leica M in 2013. They too live in a world between what is right and what the market demands. But you don’t have to use it, because the light controls are still on the outside of the camera.
But reality probably is that many who get a Leica have become accustomed to using the wheel on other cameras to a degree that they wouldn’t know how to use a Leica without the wheel.
But as the controls are easily visible on the outside of the Leica and there aren’t many other features, it’s relatively easy to get back into using those few simple controls directly.
The point is that when you use the light controls, you get a very good understanding of the light and how to control it to your likings.
If you use the aperture for light control, you change the depth of field as well.
If you change the ISO (sensor sensitivity), you will change dynamic range and noise level (if you go really high).
If you change the shutter speed, you may get motion blur at slow shutter speeds. But nothing changes in the look of a portrait whether you use 1/4000th or 1/125th of a second.
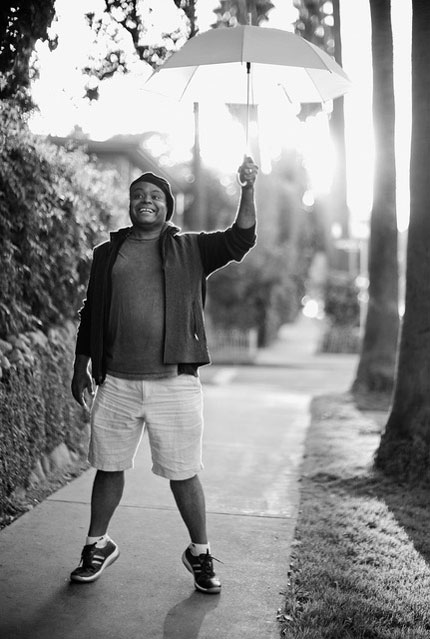
In my photography, I generally stay with the lens wide open to get a beautiful out-of-focus foreground and background, as well as sparkling highlights in the background. That’s my thing and my style. I have no intention of showing everything in focus. My aim in using a lens is not to reproduce reality, but to reproduce my imagination.
The Leica lenses I use are made for low light, meaning they are made for being used wide open. The idea that a lens performs better when stopped down to F5.6 is old school.
A well-designed lens performs just as great wide open. Only lenses not designed well need to be stopped down to perform better.
In the old days, by which I mean the 1970s and 1980s, most lenses would have their optimum performance in sharpness, colors and contrast at F5.6. Lens technology has come a long way since then.
Aperture is not part of my light control. I only use aperture for control of depth of field.
In my photography, the ISO is set for either outdoor or indoor photography. In essence, I use two ISO settings: ISO 200 for daylight and bright light, and ISO 3,200 for night / low light.
When I am outside, my ISO is always set to ISO 200, and if I walk into a store or café, I change it to ISO 3,200. When I walk out again, I change back to ISO 200.
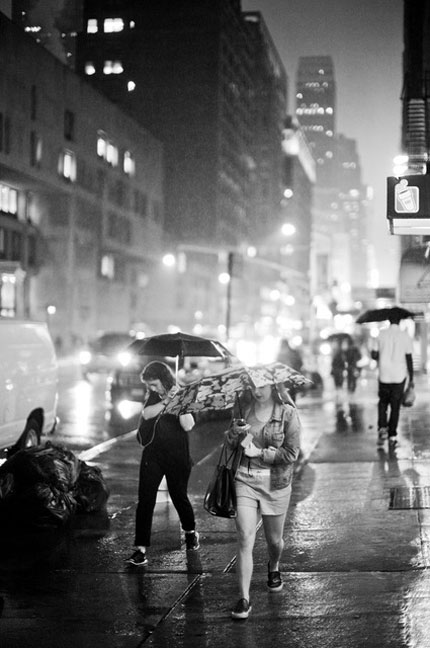
Only in few cases I walk inside and there is so much light coming in that I use an ISO setting in the middle, like ISO 800.
The point of this is that the only adjustment I make to my photographs is the shutter speed. It’s right on top of the camera and I can easily adjust the speed, and the change of shutter speed has no influence on the look of the photograph.
I am not photographing all-manual. When I am walking with my camera, it is set to aperture priority, which in essence means that the camera suggests a shutter speed automatically.
To adjust the shutter speed — if I feel I have to — I point the camera somewhere else to get a more precise light reading (and then lock that shutter speed by pressing the release button half down), or I simply turn the shutter speed dial on top of the camera to the shutter time I want.
This is all easy and intuitive if you use a Leica M. Just as it was intuitive and become part of your muscle memory back when we used simple film cameras without the wheel.
The problem is how to make your photography simple again, using an automatic, advanced camera that has hidden all the logic behind fancy names and layers of automatic functions to help you.
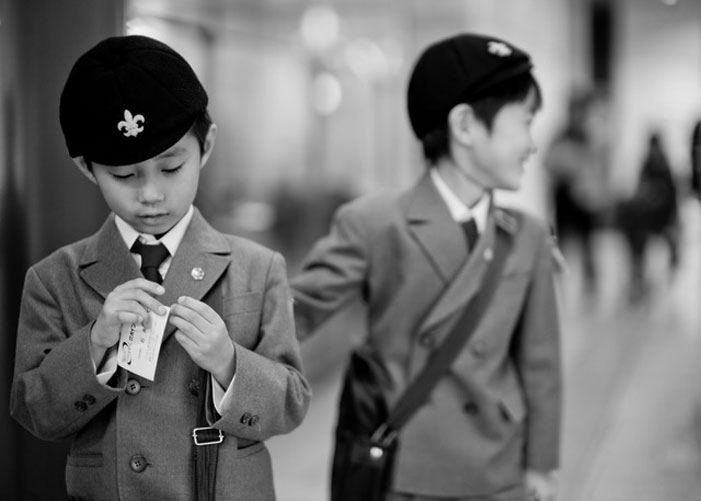
Well, helping someone by doing it for them is not a real help. Helping someone by making it simple to understand, that’s real help.
I know it’s not very popular to say, but I will try it anyways:
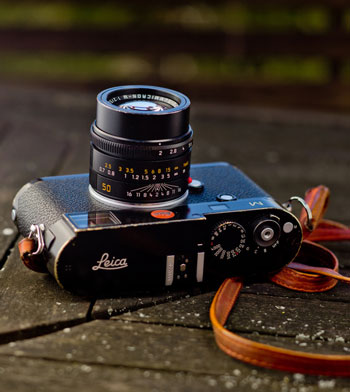
Read the manual.
Have the camera next to you and read the manual, point for point, and understand and drill each thing.
Be prepared to find things that make no sense and things you don’t agree with, as well as a lot of things you realize you will never use.
You may find yourself wondering why you bought a camera with all these features, or who would ever use them, but in the end you will become so much of an expert on your camera that you no longer feel that you are stupid.
You will actually become an expert on your camera, and that will put you in a position where you will be able to control and simplify it.
To make the camera a tool for you, which is what the whole idea was to begin with.


