


By DIERK TOPP
My topic is sort of special and probably not for many readers, but it may be worth to think about using tilt-shift lenses on your Leica when shooting architecture. We’re not talking the miniaturization tilt-shift, but the serious architectural photography. Now, what are tilt-shift lenses? Wikipedia does a better job explaining it than I do, but let me give it a shot. I will concentrate here on the use of the shift function, as this is the useful function for the use on a rangefinder Leica without live view. We all know the problem of perspective distortions when shooting architecture. With a shift lens, this can be solved and compensated.
For What and How Are Shift Lenses Used?
The main application is for architecture. I used shift lenses since many years on my SLR and DSLR cameras. But now I sold all my DSLR gear recently. My favorite cameras are the Leica M9, Leica M Monochrom and Sony NEX. And I love shootung architecture and was looking for a solution for my Leica and the upcoming FF NEX.
With digital images we usually correct the perspective in post-processing (if you care about that at all). That means, the missing pixels have to be “invented” by the post-processing program. If you want to avoid that, you have to use a lens that can be “shifted.” Canon calls these TS-E lenses (tilt-shift), Nikon PC lenses (perspective control).
Again: when shooting architecture you always get perspective distortions of the buildings when pointing the camera upwards. Tilt-shift lenses (I am talking of the shift function of the lens) make it possible to keep the camera in a horizontal position (normally but not necessarily on a tripod) and move the lens up (or down or sideways).
The camera seems to look upwards now, but the building stays in perfect position without any vertical perspective distortions. This is normal business for large format cameras.
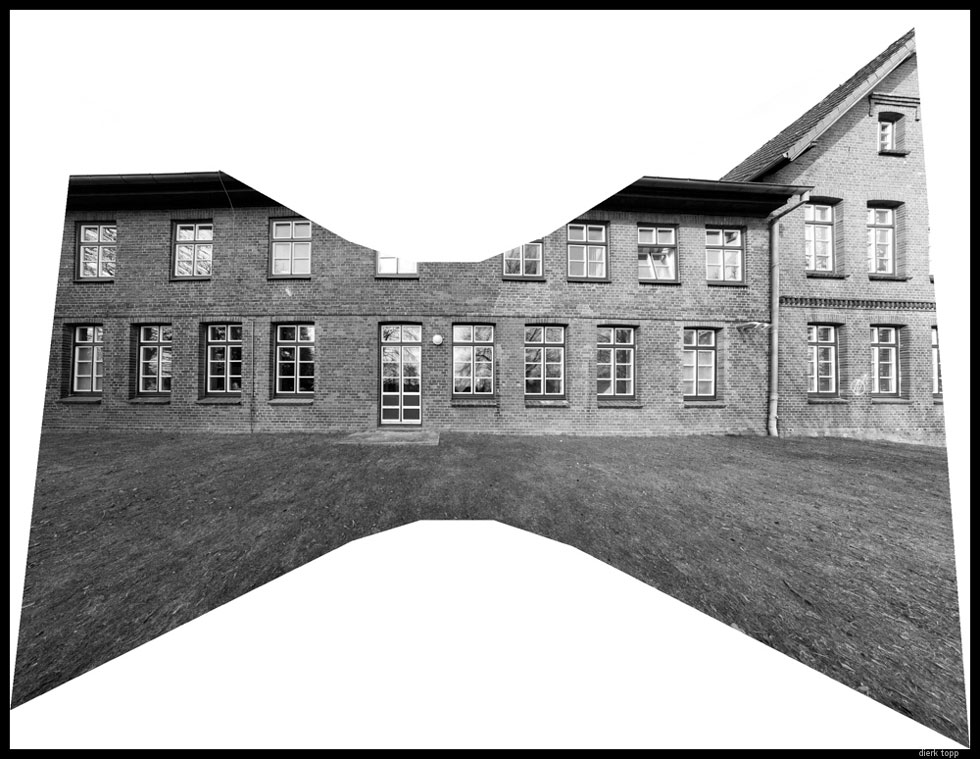
A Special Use of Shift Lenses: Panorama
As an additional effect you can shoot multiple images with different positions of the shifted lens and stitch these multiple images made out of one consistent image circle. And they fit perfectly, as they all belong to the same image (circle) — of course this only works as long as the object is static. You’ll find examples for it further below.
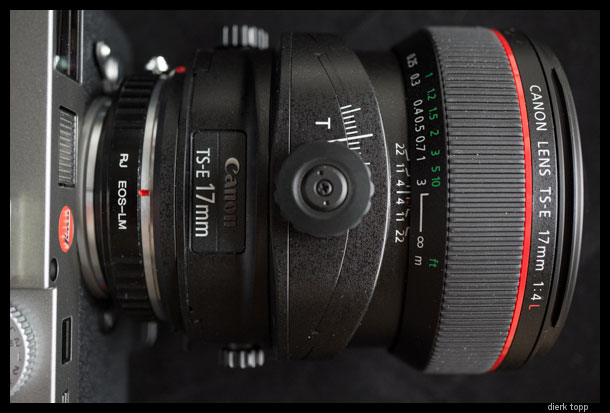
How to Use a Canon TS-E Lens on the Leica?
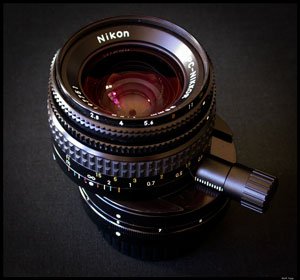
Wide angle lenses are a must in most cases for architecture, and the widest 35mm full-frame tilt-shift lens is the Canon 17mm F4 TS-E (Amazon/eBay). But: the E in the TS-E means the lens aperture is controlled by the Canon camera body! A Leica camera can’t do that.
BTW, NEX cameras offer electronic control of the E mount lenses and via the use of modern intelligent adapters like Metabone the NEX can also control the aperture of the TS-E lens! I use this adapter for the TS-E with perfect results on the NEX-7 and NEX-6 — and hopefully soon on the upcoming NEX-FF, howsoever it will be called. Today though I will concentrate on the Leica.

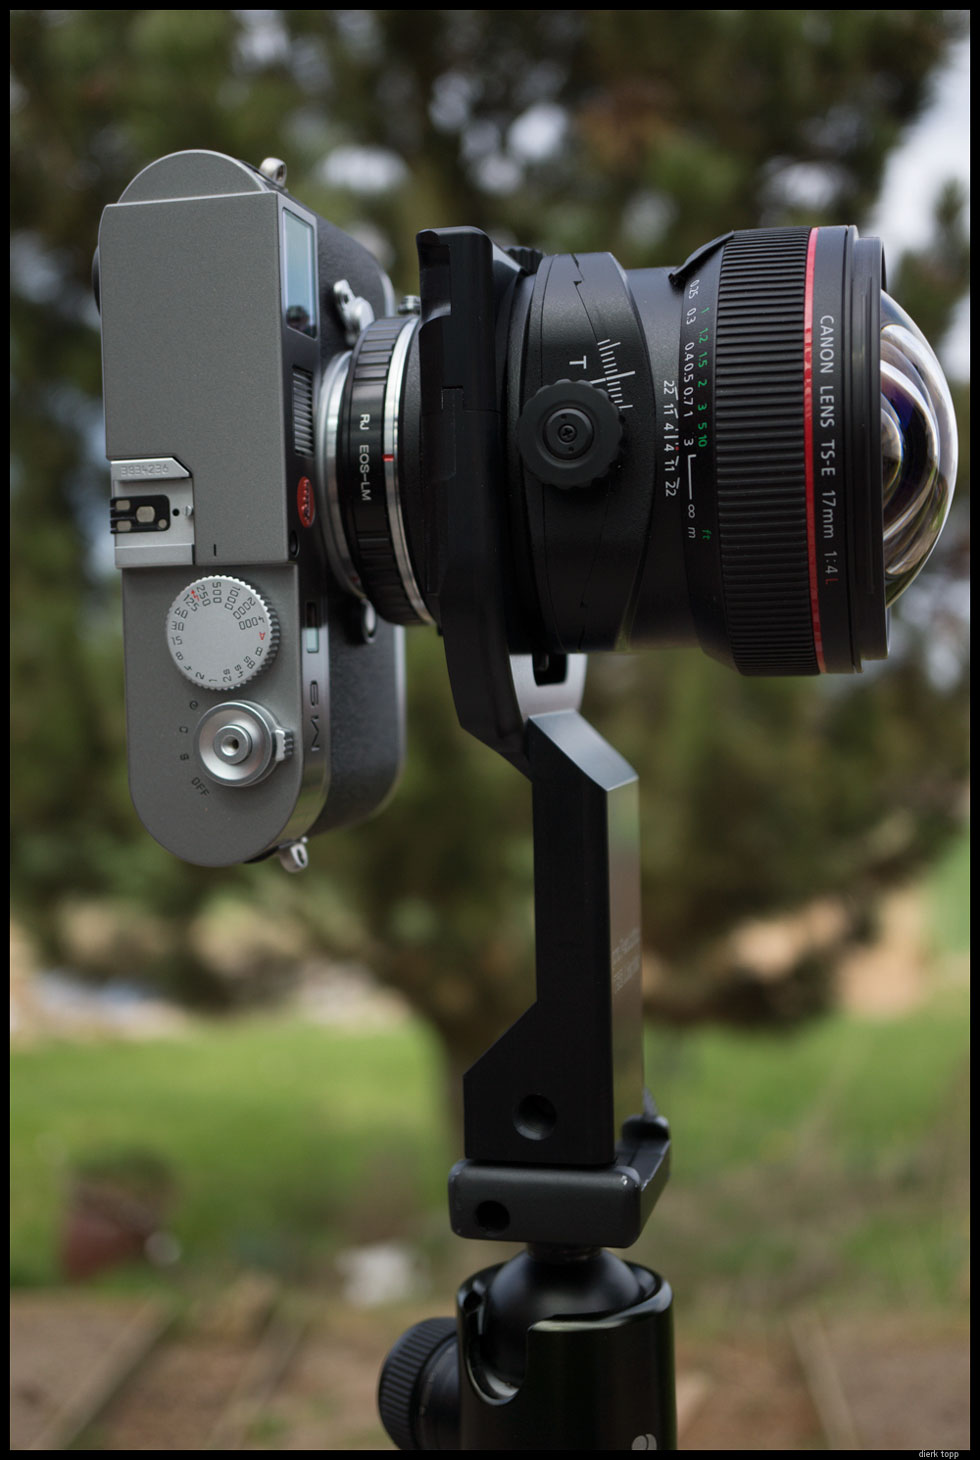
Searching on the Web for more informations about the 17mm TS-E I found the trick in a forum to control the aperture and use this lens on my Leica and have 17mm full-frame with tilt-shift. I need a Canon body, mount the lens on the body — stop down the lens to the desired f-stop and unmount the lens while pushing the stop down key — and the aperture stays stopped down!
And after a long search for a used cheap body I got a defect Canon DSLR body from Canon (for free!). I need it only for stopping down the lens, I always use F8.
The Adapter?
So far I use a cheap adapter from Hong Kong.
How to Focus?
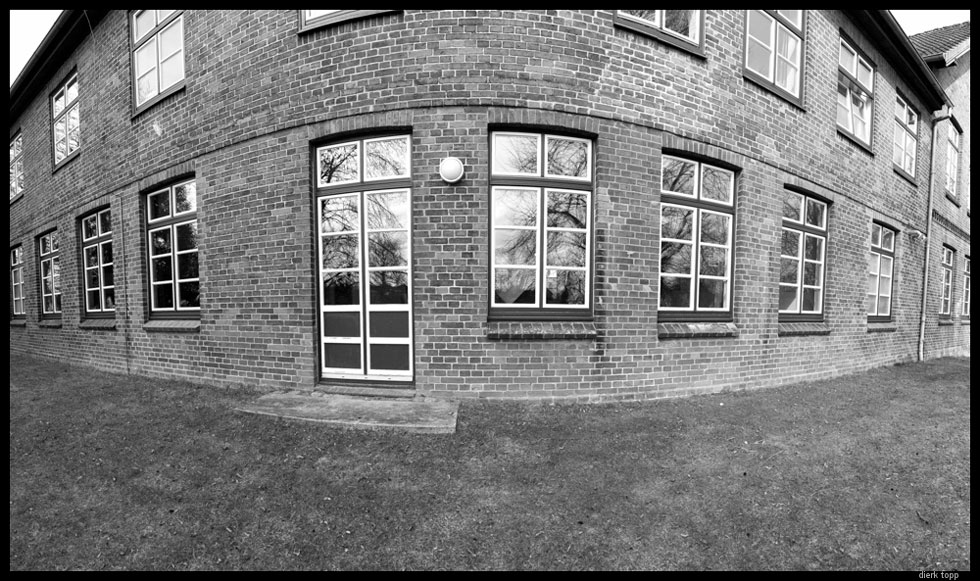
The depth of field of a 17mm lens is very deep. With the use of F8 I set the distance to about three meters. Further below you’ll find a selection of images. All are shot shot with the Canon 17mm TS-E at F8 on a tripod. You find more images on my Flickr album.
But first some more technical background. Below you see a stitch of all possible shift positions of the Canon 17mm F4 TS-E with an overlay of real images of the extremely wide Voigtlander CV 12mm, the Leica Super-Elmar 18mm and the Leica Super-Elmar 21mm.
You will notice that with the 17mm lens shifted left and right you get even wider than with the 12mm CV lens! BTW, the 12mm CV was not corrected with CornerFix and you see the color shift on the edges.

Now here’s a comparison between stitched images out of one image circle from shifted lens to the typical panorama image with rotated camera and lens. I’m using the Leica M9 with the Canon 17mm F4 TS-E. The distance from the camera to the wall is about three meters!

Followed by a stitch of five images portrait with the camera rotated on the tripod:
I start with a very special image made with the new Leica M. This is the only image that I made with the 17mm lens on the new M.
I had this Leica Typ 240 and gave it back after two days. It just did not fit my needs, especially for tilted lenses. The enlarged focus point is fix in the middle of the image and for the control of tilted images this is absolutely useless! I wrote Leica an email about many more negative points — never got an answer.
In this image you can see that I shifted the lens up more than the useful maximum and to top of the image is getting blurred.
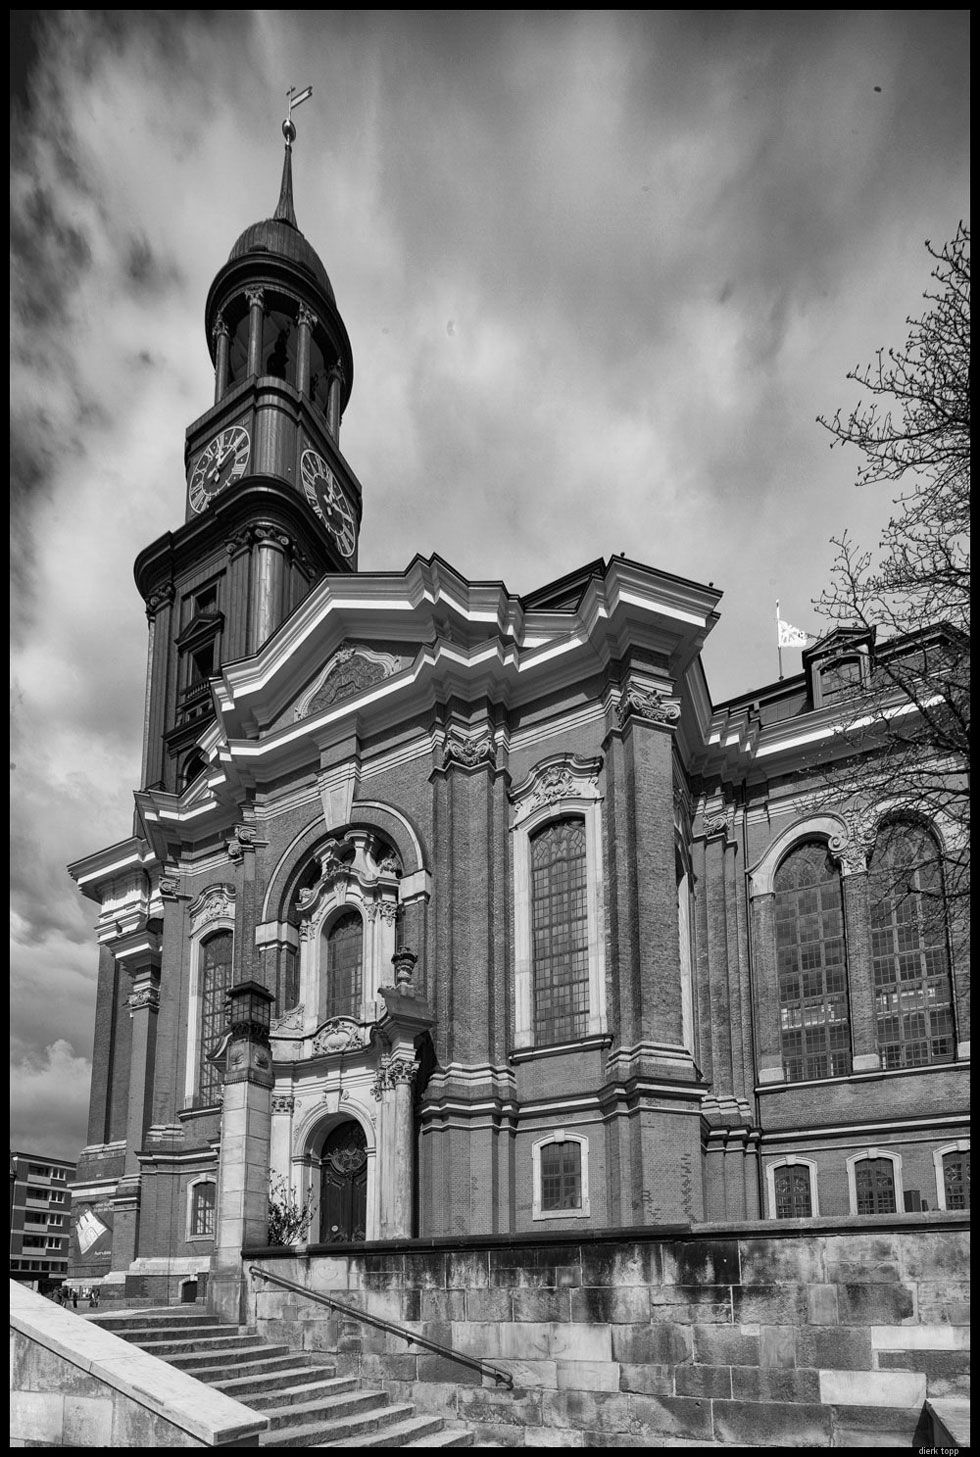
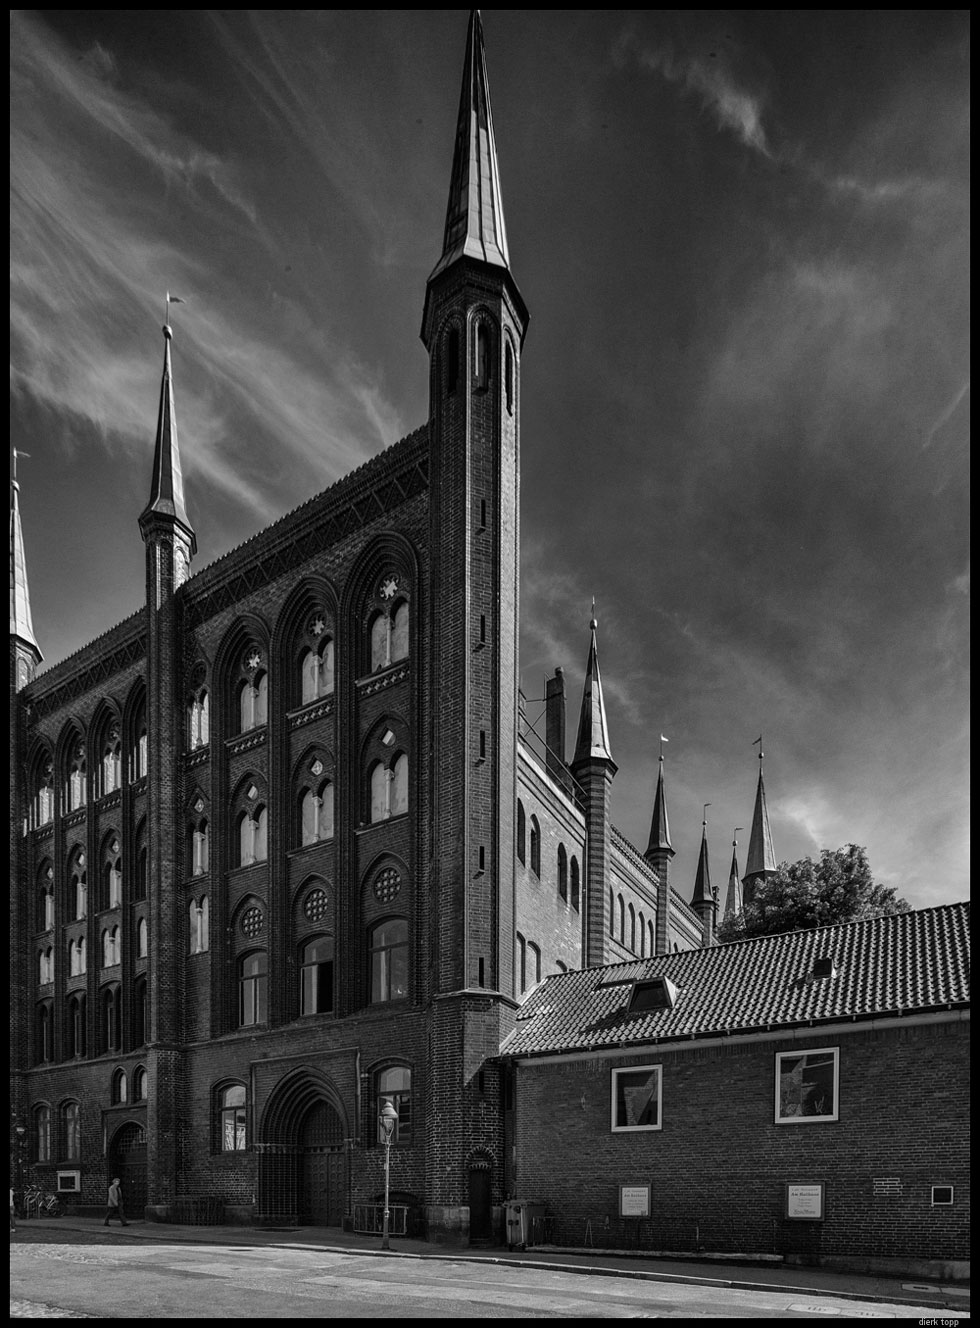
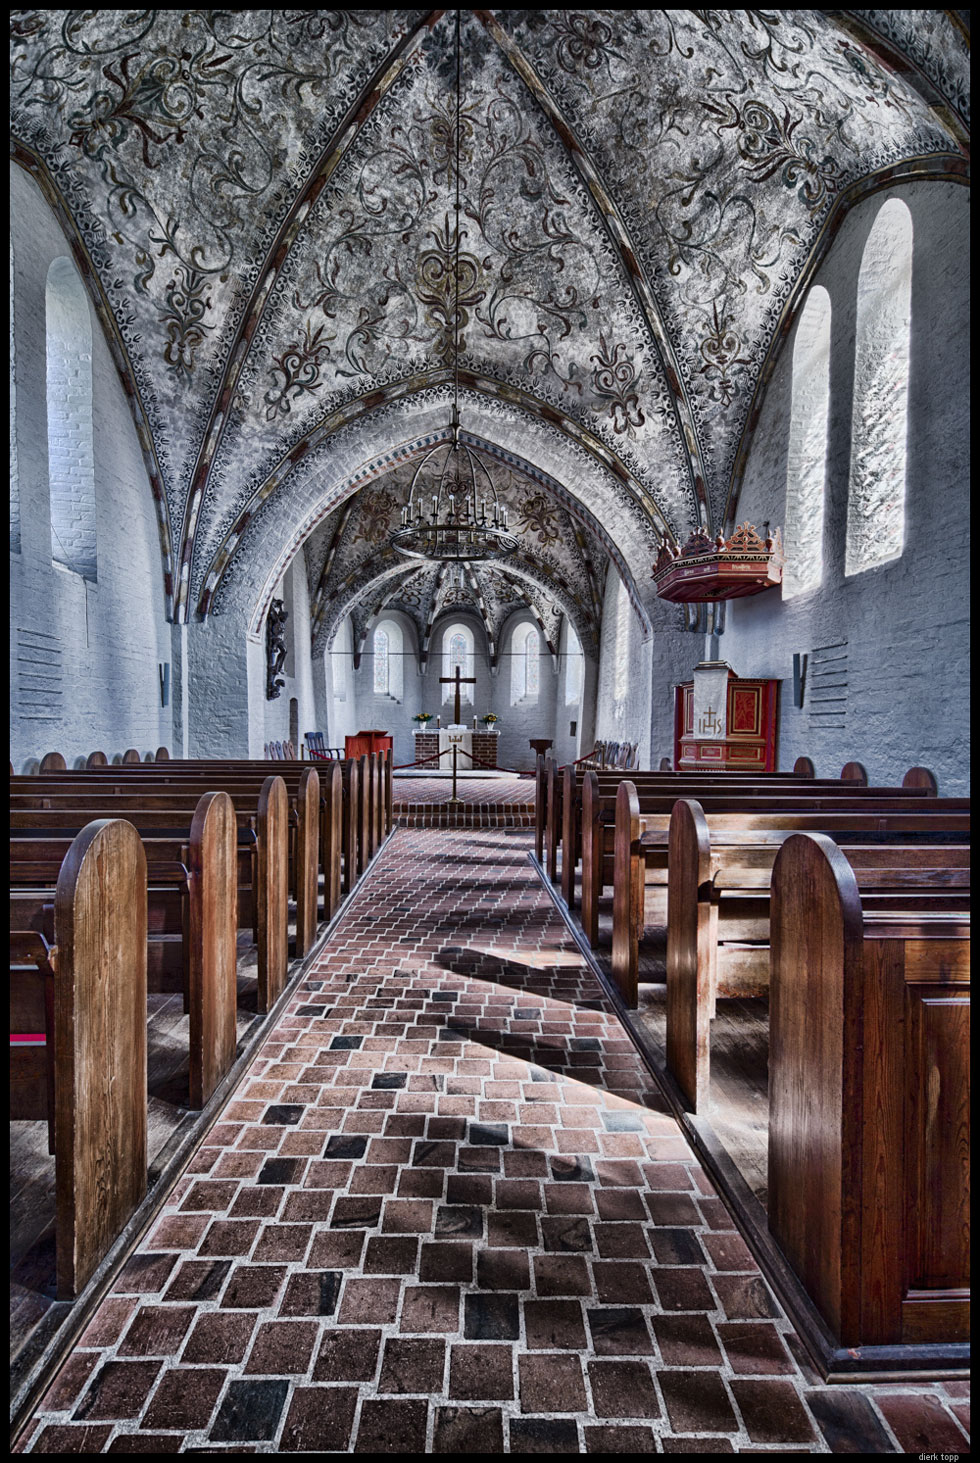
All following images are shot with the Leica M9 and Canon 17mm TS-E @ F8:
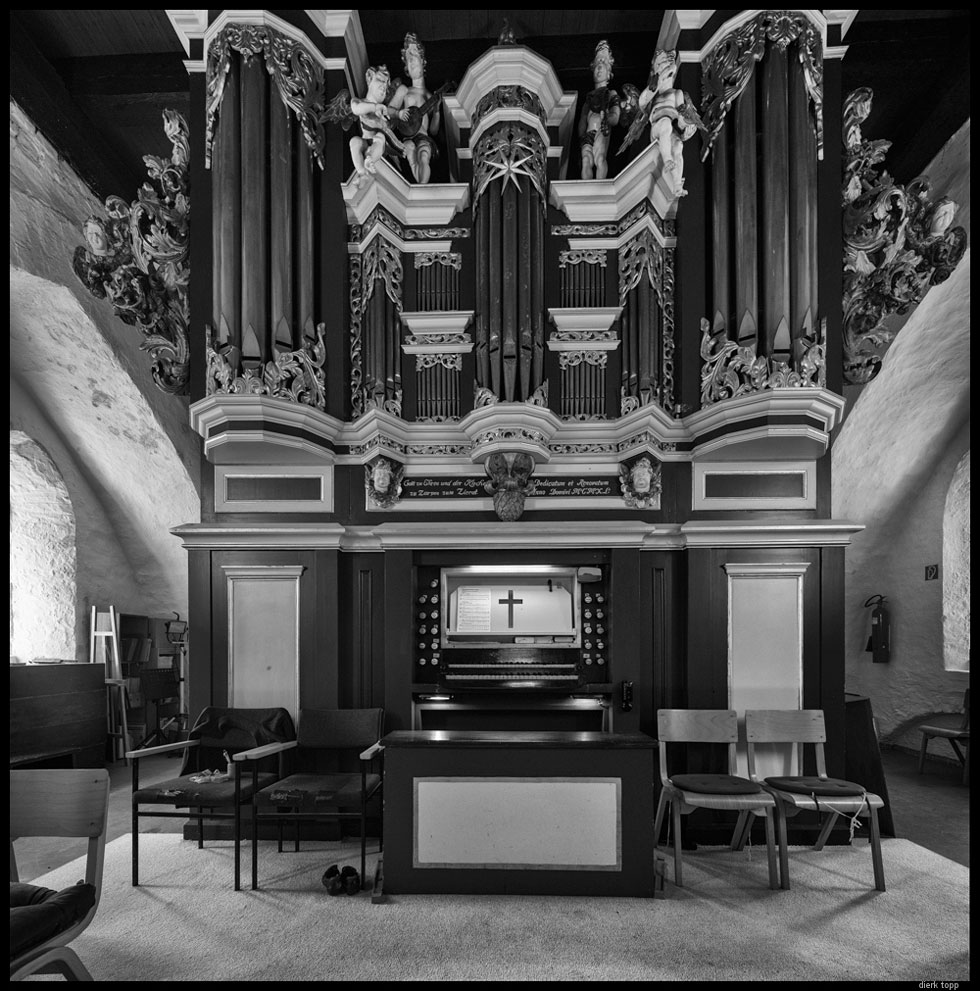
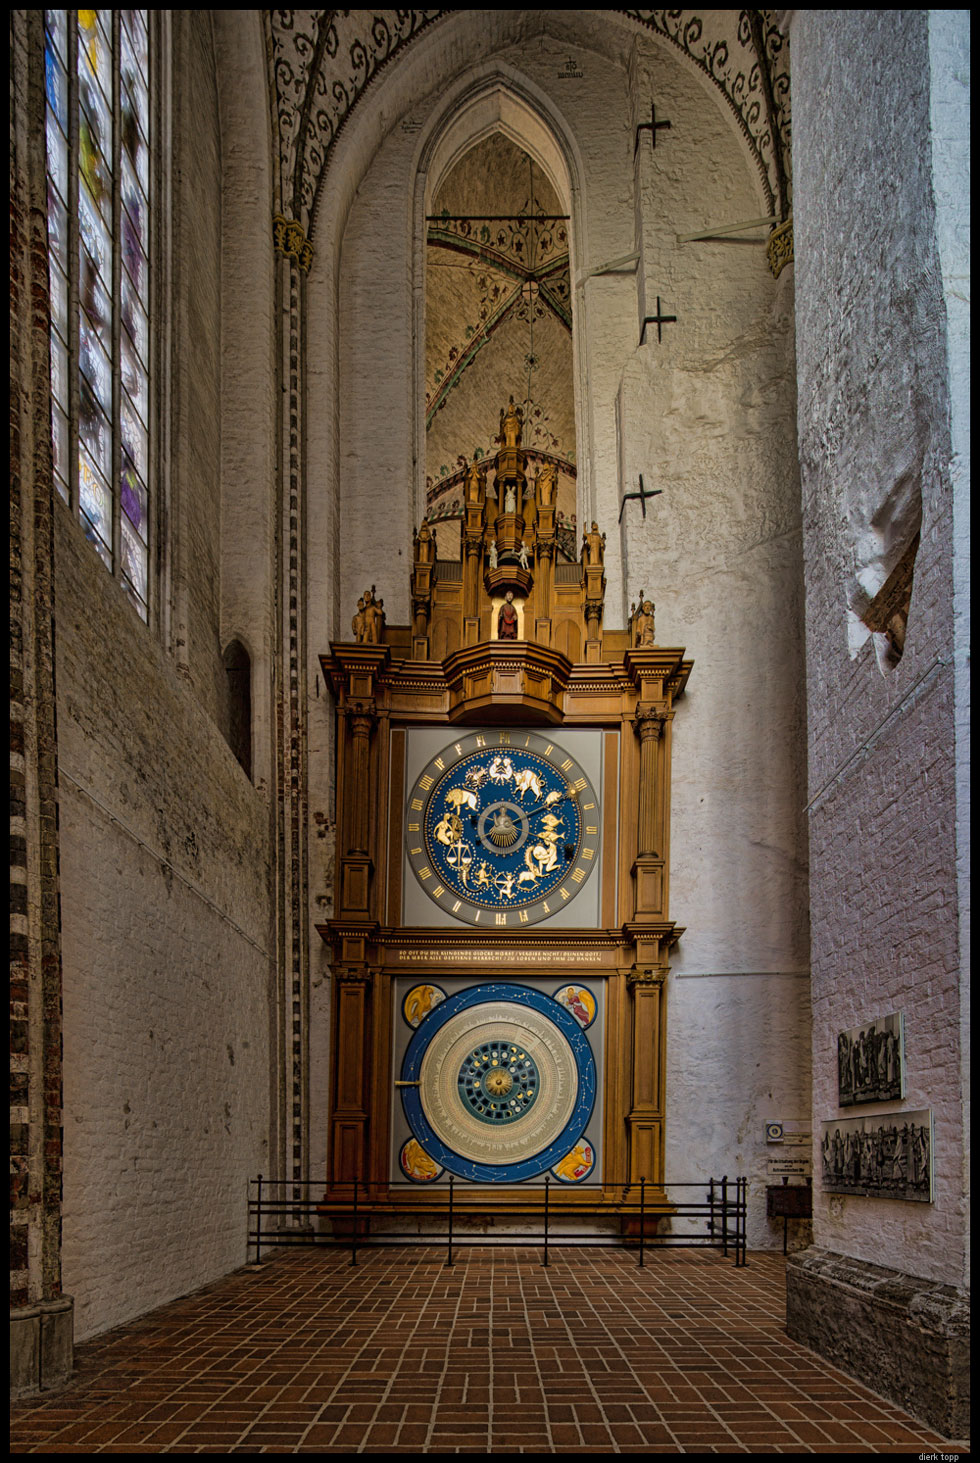
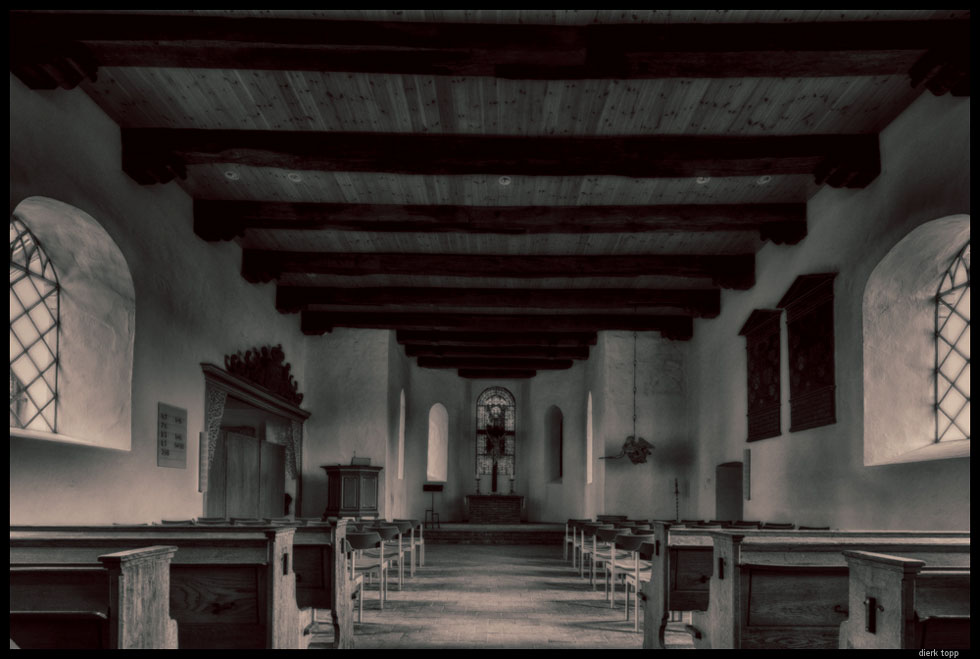
built in the 13th century /
HDR shifted | Dierk Topp

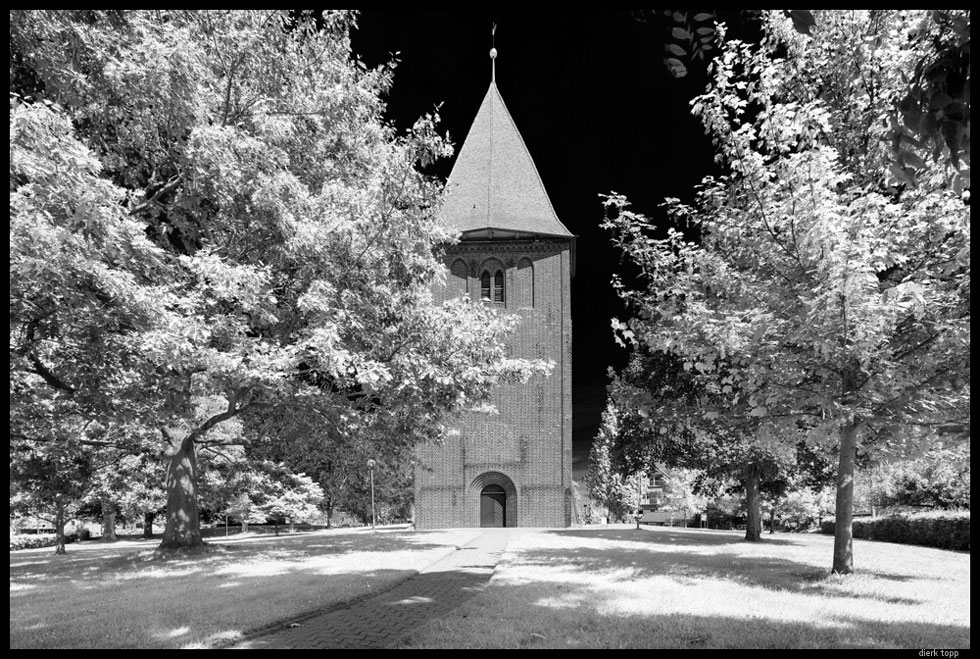
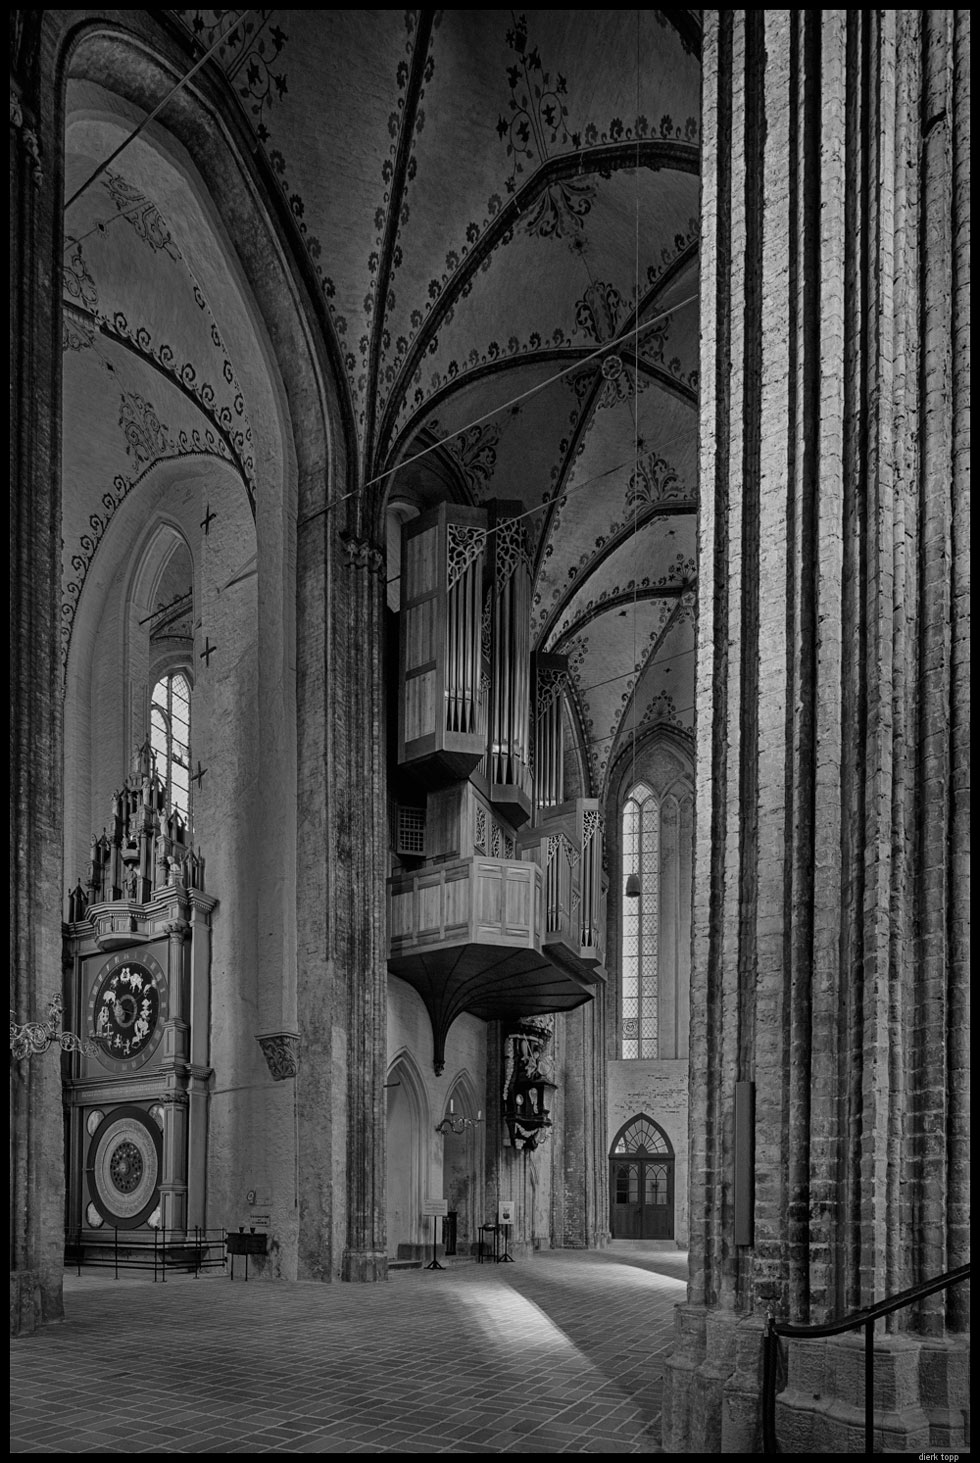
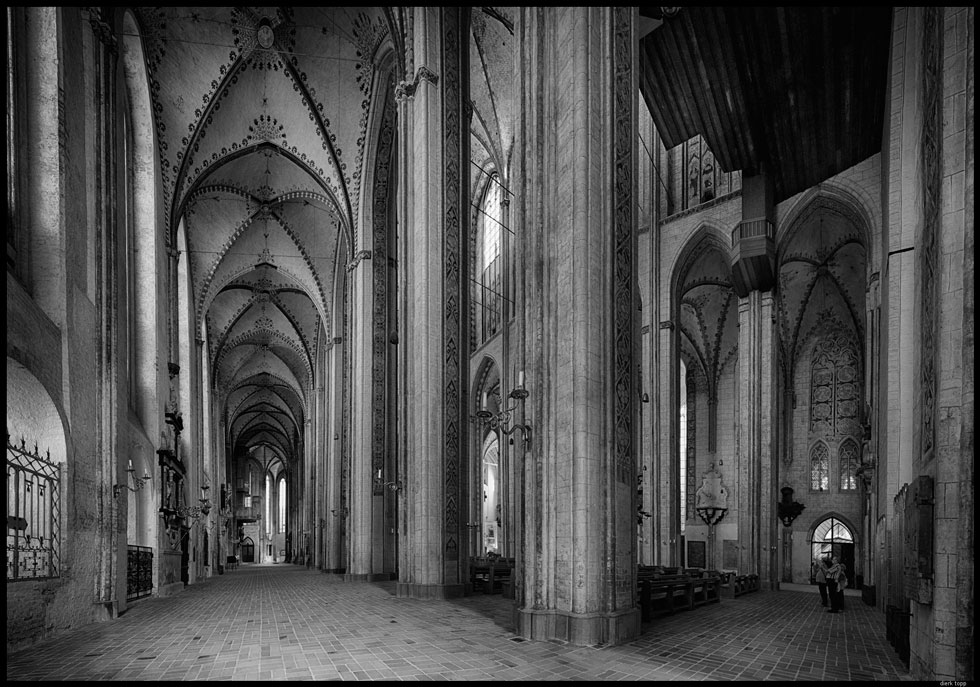
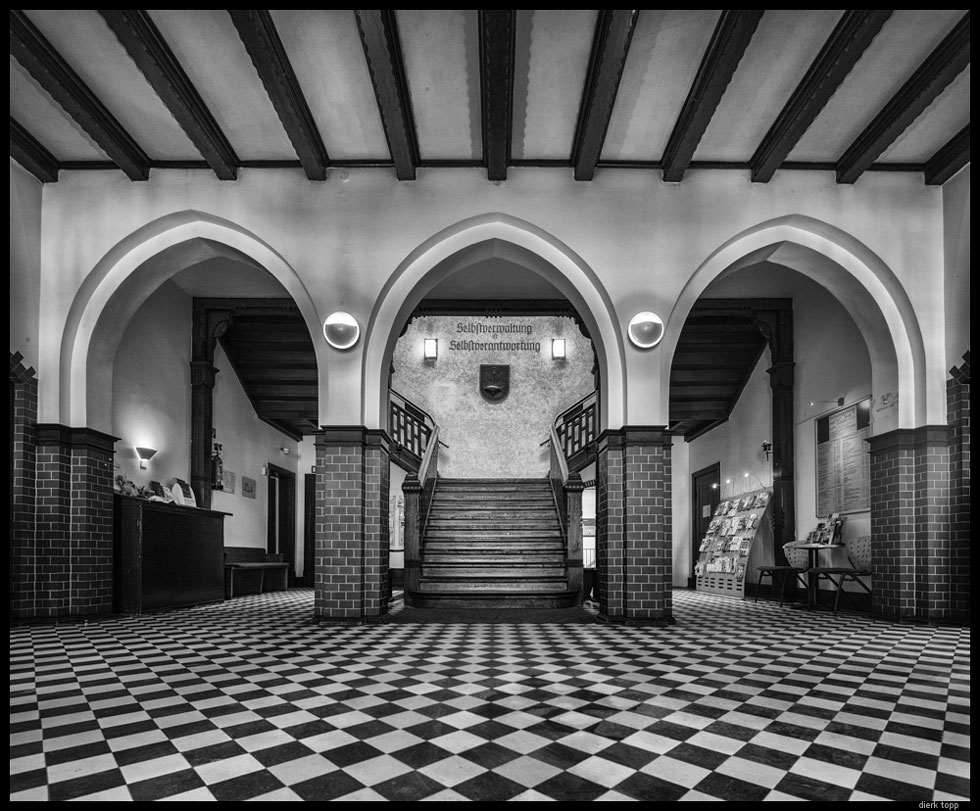
The following images are a normal single shot with shifted lens:

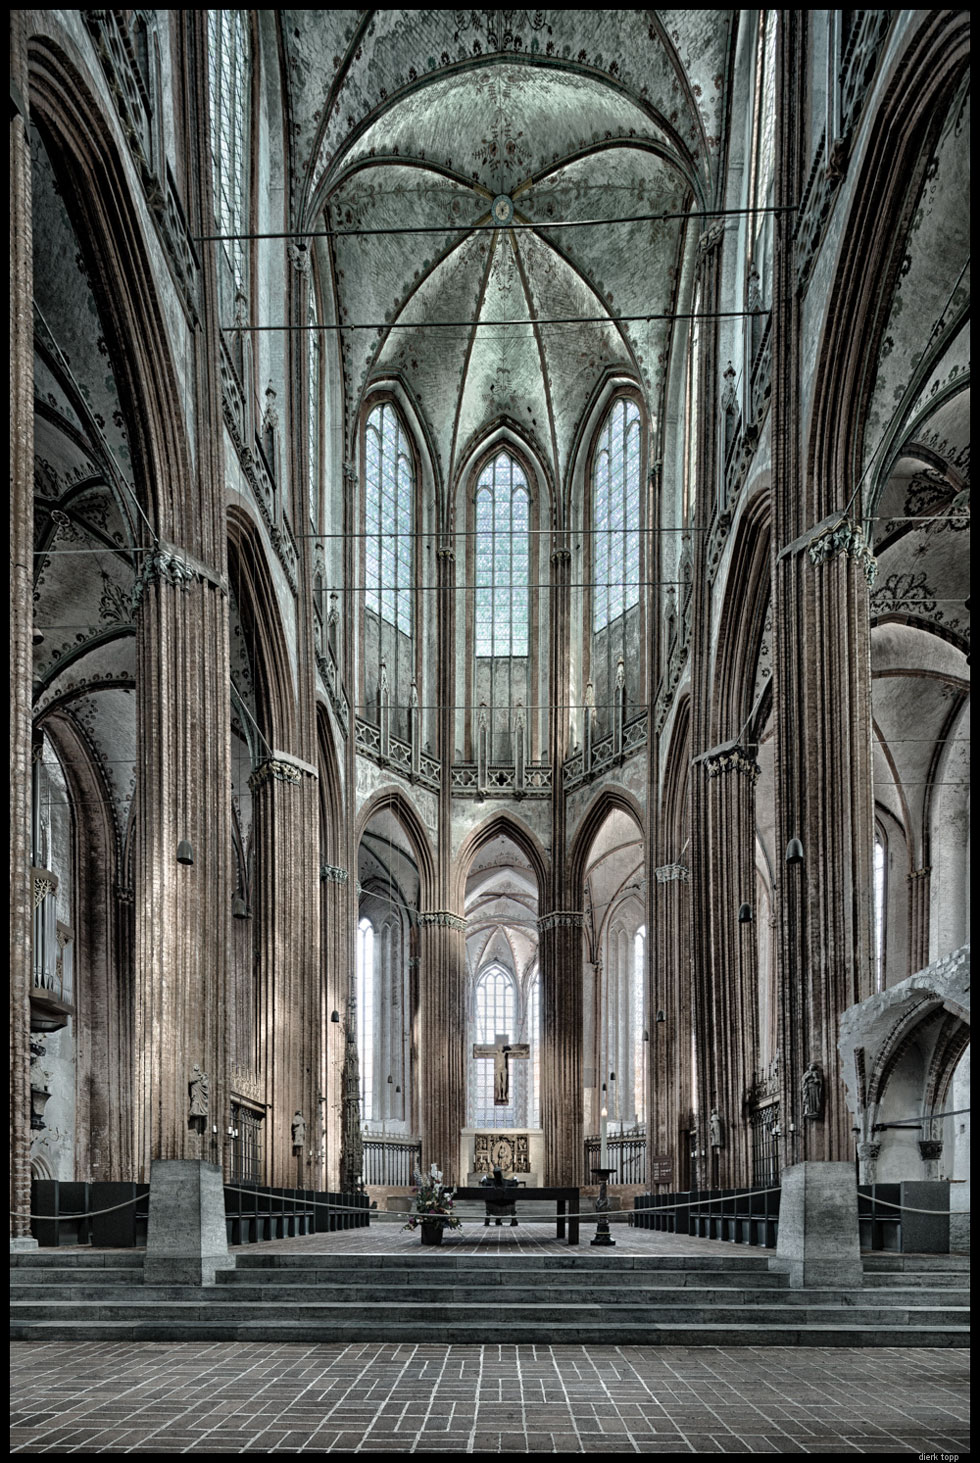
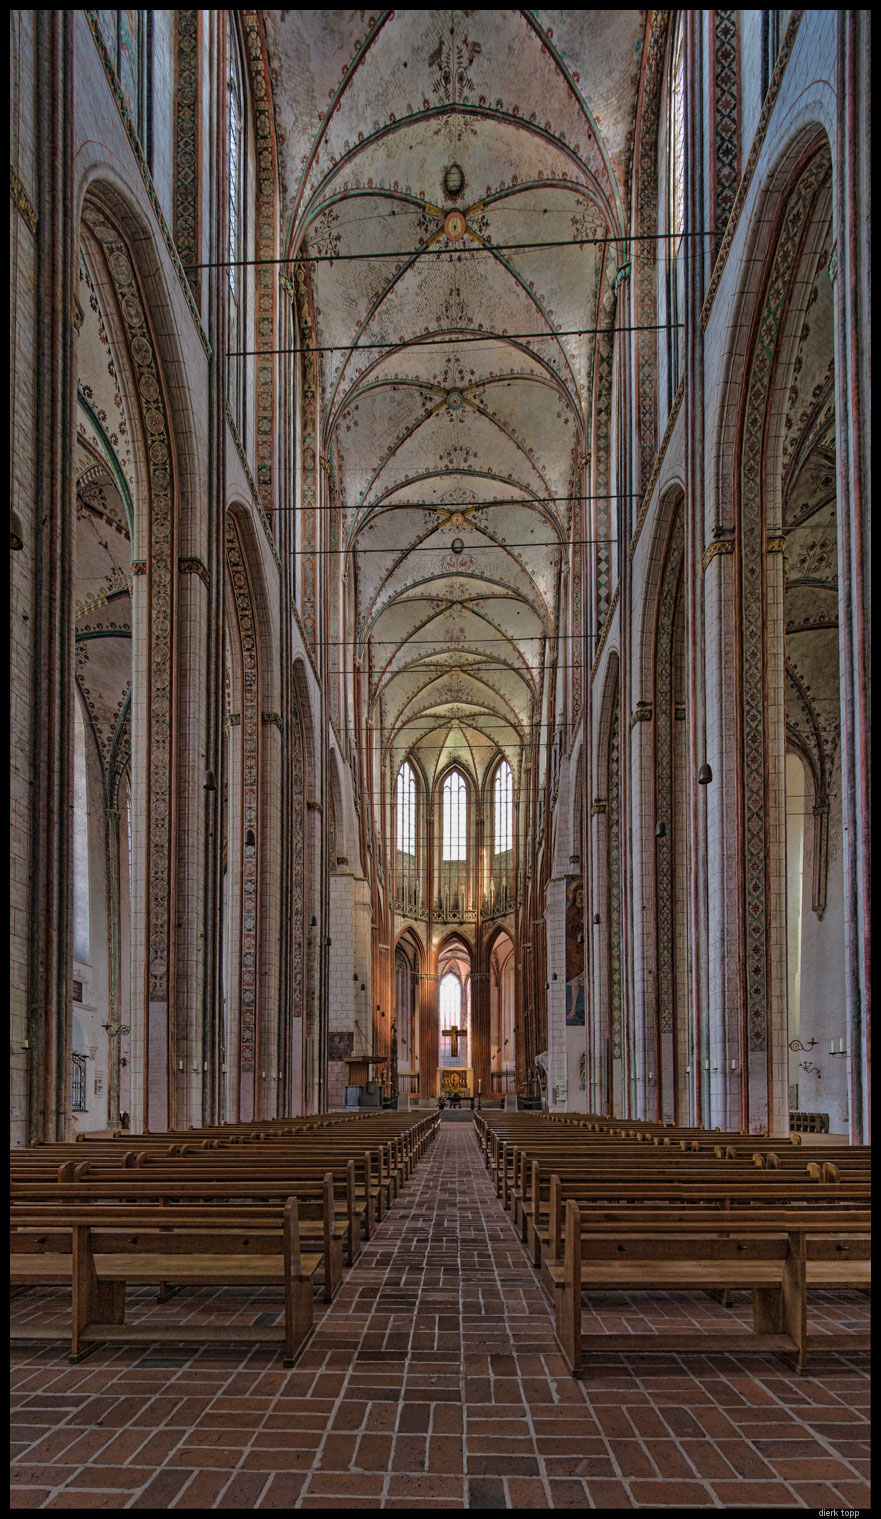
This one is different:
resulting in 7,400 x 5,100 pixels = 35MP | Dierk Topp


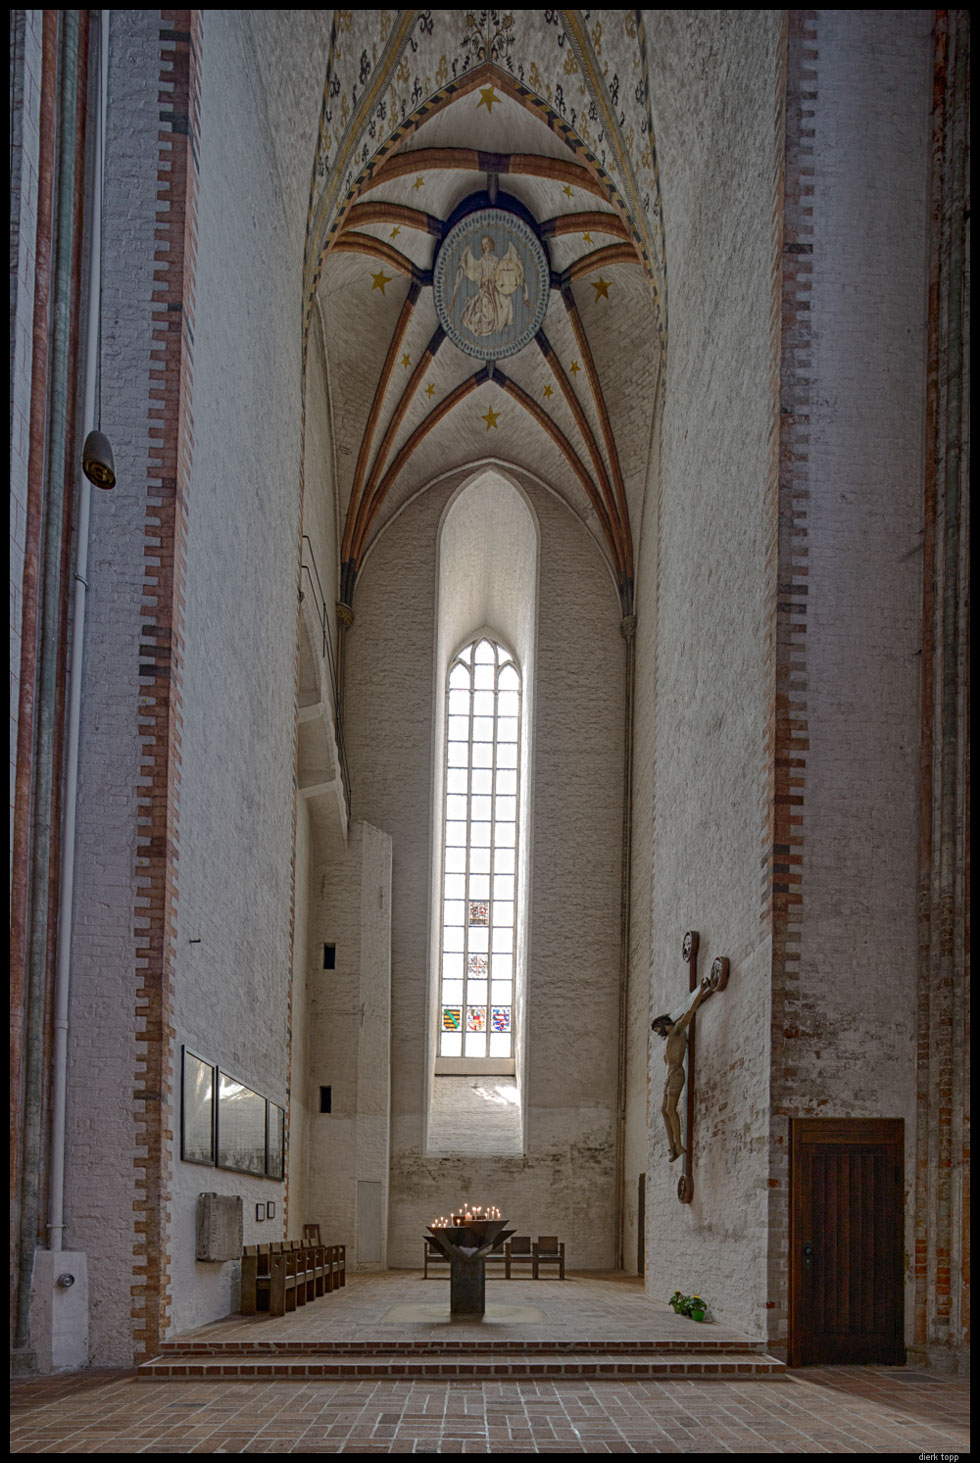
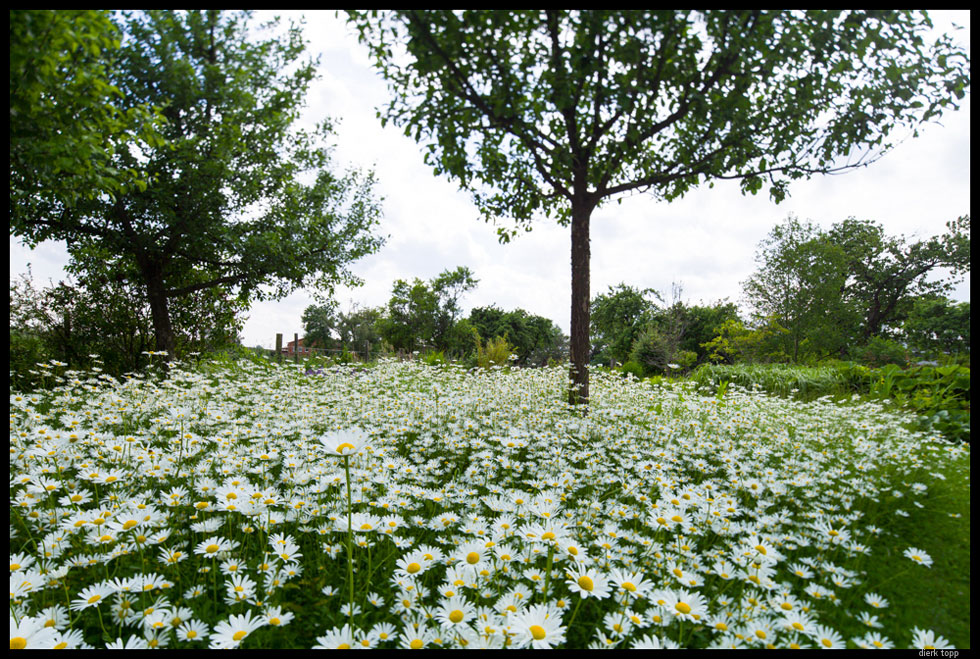
And the last image of this series — Leica M9 with Canon 17mm F4 TS-E in tilt function.
As described above, this function is more or less useless on a camera without live view or SLR control of the plane of focus. With some experience with tilting you can guess the tilt, but it is more or less a question of luck with the poor display the M9 has.
Please note, the plane of focus lies parallel to the ground. The flowers are sharp from foreground to background — but the tree above them is unsharp!
Thanks your time and patience.