One of the most critical decisions when composing and taking a photograph involves the selection of a focal point that will capture the attention of viewers. Going along with that, selecting the depth of field will have an impact on how the focal point is portrayed in the photo (for example, creating a bokeh effect with a blurry background that makes the focal point really stand out).
With many landscape photos the goal will be to use a depth of field that allows you maximum sharpness for the entire photo, from foreground to background. But edge-to-edge sharpness is not always easy to achieve. If you’ve struggled with creating truly sharp landscape photos or been frustrated by details that weren’t as sharp as you would like, you may appreciate a new infographic created by Loaded Landscapes.
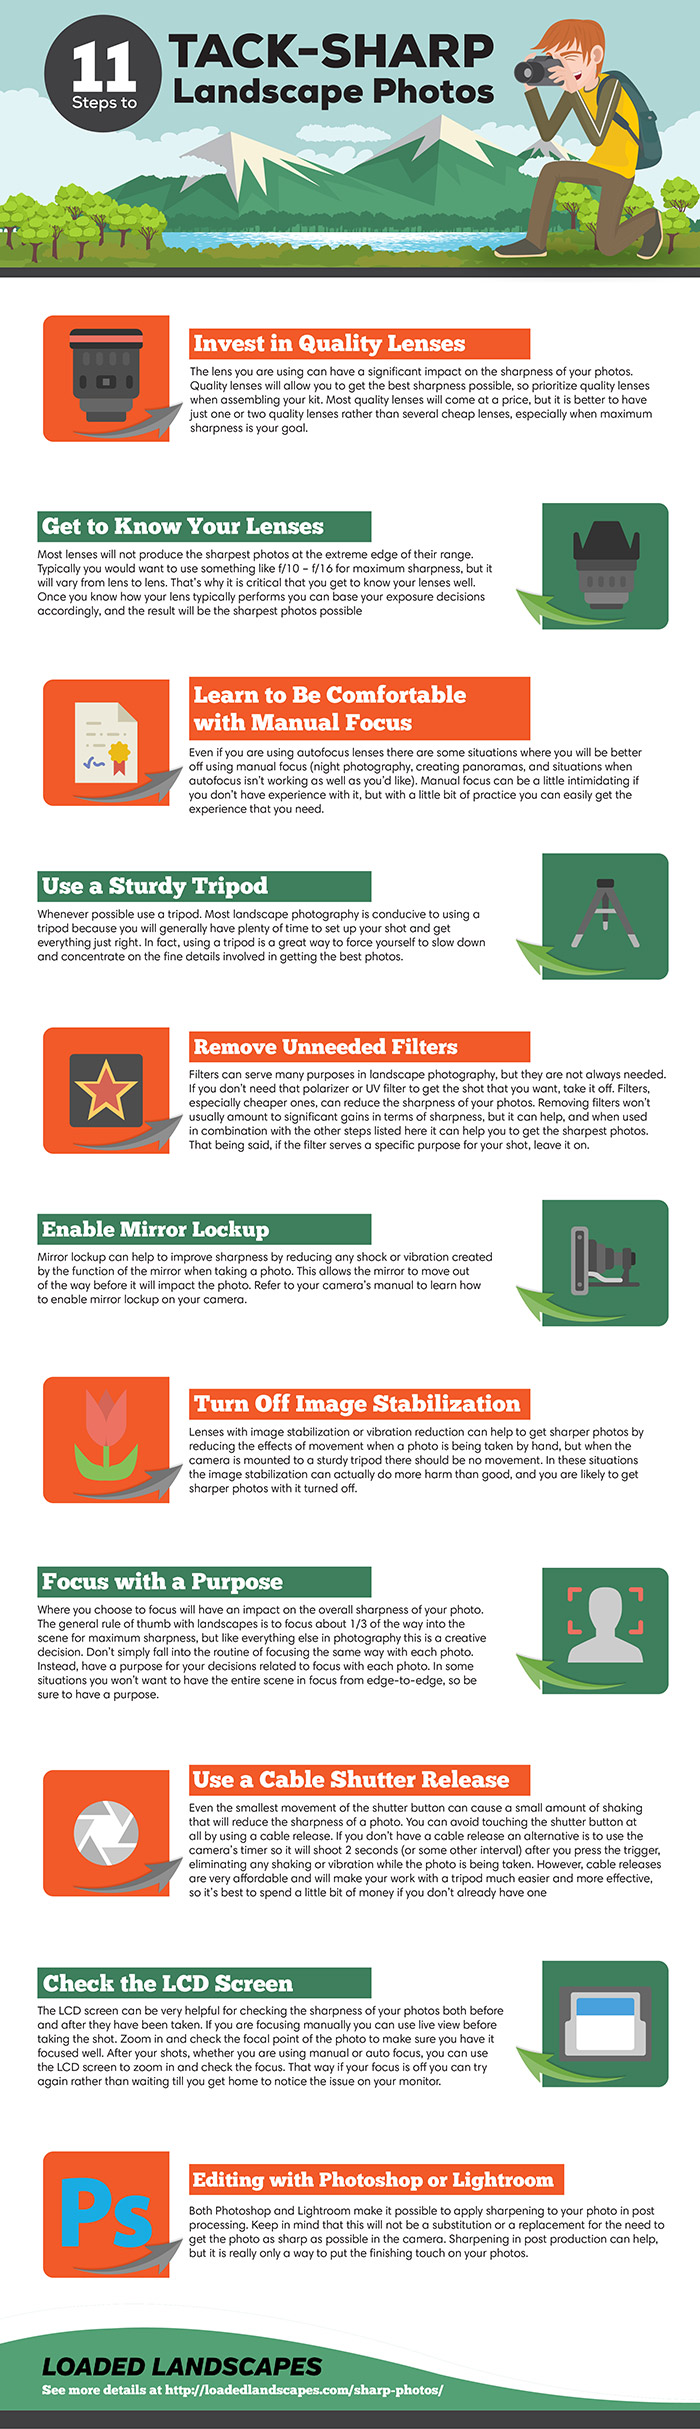
The infographic is a companion to their article 11 Steps to Tack-Sharp Landscape Photos, and it shows all of the main steps that you can take to start seeing serious improvement in the sharpness of your photos. The infographic is shown below, but here is a summary of the key points/steps.
1. Invest in quality lenses. If you want maximum sharpness you will need to have gear is capable of the results you are after. Don’t spend all of your money on a camera body and then skimp on the lenses. Leave enough money in your budget for quality lenses.
2. Get to know your lenses. Each lens will perform differently. Test your lenses to find what aperture produces the sharpest photos.
3. Learn to be comfortable with manual focus. Auto focus is great, but it doesn’t always work. Make sure you are comfortable enough to use manual focus when needed.
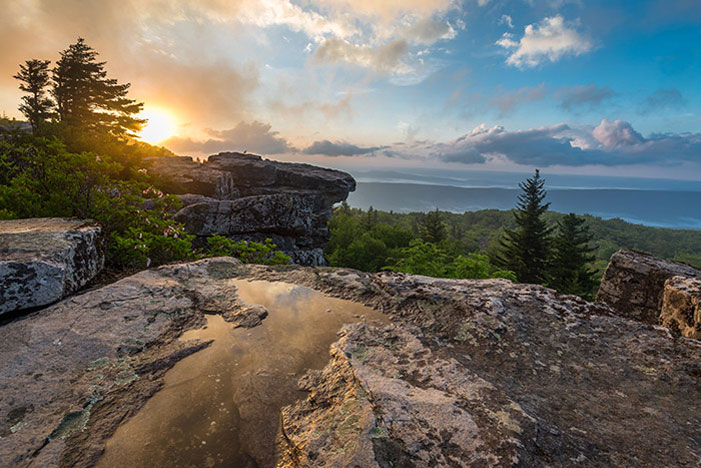
4. Use a sturdy tripod. If you want the best quality landscape photos with edge-to-edge sharpness, using a tripod is a must.
Many landscape photos, like the one below, are taken at sunrise or sunset. At these times a tripod is especially critical.
5. Remove unneeded filters. If that polarizer or ND filter is serving a purpose of course you can and should use it. But if not, take it off. Filters can sometimes have a slight negative impact on sharpness.
6. Enable mirror lockup. This can eliminate small vibrations when the mirror moves to take a photo. Even the small movements can make a big difference when you are after maximum sharpness.
7. Turn off image stabilization if you are using a tripod. The tripod should be eliminating any movement in the camera, and in some cases the image stabilization will create worse results when the camera is tripod mounted.

8. Focus with a purpose. Know the focal point of your photos and be sure that it is completely in focus.
9. Use a cable shutter release or timer to avoid even the slightest movement from pressing the shutter button.
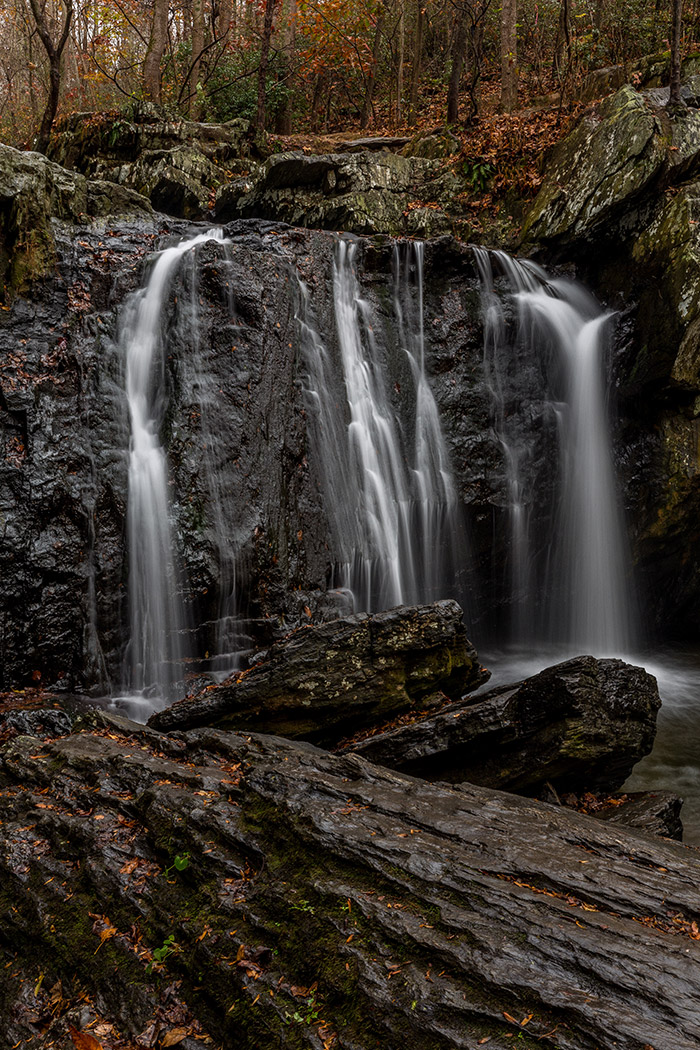
10. Check the LCD screen after the photo has been taken. Zoom in to check the sharpness and try again if it is not sharp enough.
Waterfalls are a favorite subject for many landscape photographers, and waterfall photos are a perfect example of using the LCD screen to check your photos. After taking the photo you can check the LCD screen to be sure that the foreground elements are sharp, that the water is blurred or not blurred to your satisfaction, and that the highlights in the water are not blown out.
11. Apply Sharpening in Photoshop or Lightroom. Both programs have tools for sharpening your photos.
Marc is a landscape photographer and the editor of LoadedLandscapes.com. He lives in Pennsylvania with his wife and two kids. Infographic via LoadedLandscapes.com. Photos are copyright Loaded Landscapes.